


Downhill Glasses for MTB: How to Choose Eyewear for Technical Trails
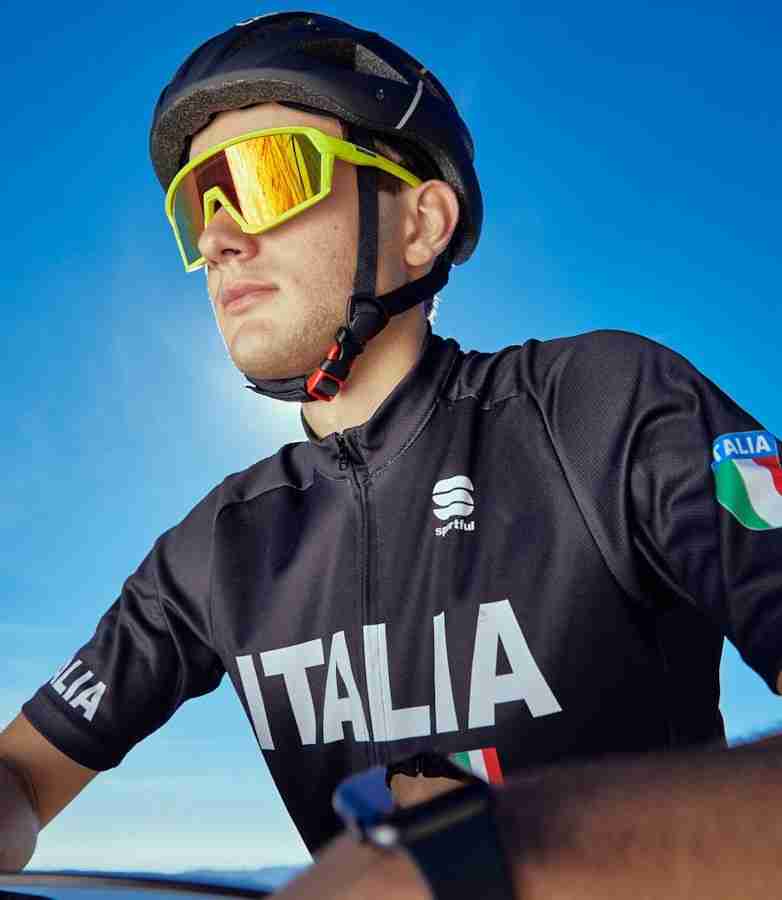
Good downhill glasses do more than block sunlight. They need to protect your eyes from trail debris, stay stable over rough ground, work with your helmet and use a lens that matches the light you actually ride in. For pedal-heavy trail and enduro rides, glasses are often the most versatile option; for bike-park laps, full-face helmets and aggressive downhill, MTB goggles can provide more enclosed coverage.
Quick Answer
What Makes Good Downhill Glasses?
For downhill and technical MTB, the best glasses are the ones that stay secure, give wide coverage and use a lens suited to the trail's light conditions without creating problems with your helmet.
Wide, useful coverage
A larger wraparound lens helps shield the eyes from wind, dust, insects, mud, branches and debris coming from the front or sides.
The right lens for the light
Dense forest, open alpine terrain and bike-park laps can require very different light transmission. Choose the lens for the route, not just for its colour.
Stable helmet-compatible fit
The temples and upper frame should not be forced out of position by the helmet. Stability matters most when braking hard, landing jumps or riding rough sections.
Eye Protection
What Downhill Eyewear Actually Needs to Protect You From
Downhill eyewear is exposed to more than sunlight. Speed increases airflow, while loose surfaces and nearby riders can send dirt and small debris toward the face with little warning.
On narrow singletrack, branches and foliage can reach the eye area. In dry conditions, dust can reduce clarity; in wet conditions, mud and water can cover the lens. Insects and wind are another distraction, particularly on fast open descents.
That is why coverage and secure fit are not cosmetic details. A lens that sits too far from the face at the sides may leave more exposure, while a frame that moves on rough terrain can repeatedly interrupt your view.

Choose by Riding Style
Trail, Enduro or Downhill? Start With How You Ride
There is no single eyewear format that is automatically best for every mountain biker. The balance changes with speed, climbing time, helmet type, weather and how much protection you want around the eye area.
Trail and all-day MTB
Glasses are usually the most versatile choice. They are easy to wear on long climbs, offer good airflow and can be removed or stored quickly when conditions change.
Enduro
Many riders value glasses for transfers and climbs, but may prefer goggles for more aggressive stages or when using a full-face helmet. Ventilation and stability deserve equal attention.
Bike park and downhill
Goggles become more attractive when the ride is gravity-focused, speeds are high and a full-face helmet is already part of the setup. Large cycling glasses can still work if helmet compatibility is excellent.
Think of the choice as a spectrum rather than a rule. A hot, dry bike park may make ventilation particularly important. A wet or dusty downhill day may push the decision toward more enclosed coverage. An enduro rider who spends hours pedalling may value the lower bulk of glasses even on technical terrain.
↑ Back to topWhat Matters Most
Six Features That Matter More Than the Frame Shape
Oversized lenses are popular in MTB, but size alone does not make eyewear suitable for downhill. Evaluate the complete system.
1. Coverage
Look for a wraparound shape that protects the central and peripheral eye area without blocking your field of view or touching the helmet.
2. Lens strength and construction
Sports eyewear should use lenses intended to cope with active use and accidental contact. Polycarbonate is widely used because it combines low weight with strong impact resistance.
3. Stable contact points
Nose pads and temple tips should remain secure with sweat and vibration. Stability is more useful than excessive clamping pressure.
4. Ventilation
Large lenses improve coverage but can trap warm, humid air. Frame and lens ventilation help reduce the conditions that encourage fogging.
5. Helmet compatibility
Check the top edge, temple arms and side clearance with the helmet you actually use. An excellent pair of glasses can perform poorly if the helmet pushes it down or outward.
6. A useful lens range
The lens has to suit your real terrain: open sun, mixed woodland, deep shade, overcast weather or late-afternoon riding. Light transmission matters more than fashion.
Looking for cycling eyewear built for road and mountain bike use? Compare the current DEMON cycling collection by lens type, coverage and fit.

Lens Choice
Choose the Lens by Light Level, Not by Mirror Colour
The most useful question is not “Which colour looks best?” but “How much light will this lens let through where I ride?” Lens category and light conditions give you a better starting point.
A dark lens can be excellent on exposed summer terrain yet feel too restrictive once the route enters dense woodland. A clear lens can be ideal for eye protection in very low light but may be uncomfortable in strong open sun. Mixed routes require a wider compromise.
Clear / Category 0
Best suited to very low light, night riding or protection when strong sun reduction is not needed. It keeps the view as bright as possible.
Category 1
Useful for low-light and heavily shaded conditions where a small amount of tint can improve comfort without making the trail unnecessarily dark.
Category 2
A middle-ground option for moderate light. It can suit mixed weather and routes where neither deep shade nor intense sun dominates.
Category 3
Designed for bright conditions. It makes more sense on open, sunny terrain than on very dark forest trails.
Photochromic 0–3
A broad-range photochromic lens can be valuable on routes that move between woods and exposed sections. DEMON DCHROM® cycling models are available with a Category 0–3 range, from clear toward smoke as UV exposure increases.
Interchangeable lenses
A strong option if conditions are predictable before the ride. You can select a clear, low-light or darker lens rather than asking one lens to cover every situation.
What about polarised lenses for MTB?
Polarisation is particularly effective at reducing reflected glare from surfaces such as wet roads and water. That does not make it automatically superior for every downhill trail. In woodland, the priority may instead be usable light transmission, contrast and a lens that remains comfortable through shade. Polarised lenses can also change the appearance of some digital displays, so check compatibility if you frequently read a bike computer or phone while riding.
Photochromic lenses: useful, but choose the range first
Photochromic lenses are a strong all-round choice for riders who regularly move between bright and shaded environments. The important detail is the actual category range. A 0–3 photochromic lens starts much clearer than a lens whose lightest state is already tinted, making it particularly versatile for forest-to-open-terrain routes.
↑ Back to topDecision Guide
Downhill Glasses or MTB Goggles? Use This Decision Rule
The right choice depends on the type of ride, not on which format looks more “downhill”. Glasses prioritise versatility and airflow; goggles prioritise enclosed coverage and full-face integration.
Choose glasses when...
- You pedal for long periods: lower bulk and strong airflow are valuable on climbs.
- Your ride mixes terrain: glasses are easy to use across trail, enduro, gravel links and road transfers.
- You want quick on/off convenience: glasses are easier to store during stops or changing weather.
- You use an open-face helmet: large cycling glasses often integrate naturally with trail helmets.
Choose goggles when...
- You ride gravity-focused downhill: enclosed coverage becomes more valuable as speed and debris exposure rise.
- You use a full-face helmet: goggles are designed to work with the eye port and strap system of gravity helmets.
- Conditions are very muddy or dusty: the closer interface can reduce exposure around the eye area.
- You spend most of the day descending: the extra bulk matters less when climbing and ventilation are not the main priorities.
Do not decide in isolation: helmet, eyewear and face shape form one system. Try them together. A small gap at the brow can improve airflow, but a helmet that physically pushes the eyewear down can compromise comfort, stability and vision.
↑ Back to topFit & Ventilation
Fit, Fog and Helmet Compatibility: The Problems You Notice Only on the Trail
A lens can be excellent on paper and still be frustrating if the eyewear touches the helmet, slides with sweat or traps humid air during slow climbs.
Check the brow gap
If the top of the lens is jammed tightly against the helmet, airflow can be reduced and the frame may be pushed down your nose on rough terrain.
Check temple pressure
Helmet retention systems and padding can press the arms against your head. Secure should not mean painful, especially on long rides.
Check low-speed fogging
Fog often appears after a hard climb, during stops or at very low speed when warm moist air is no longer being cleared by forward motion.
Coverage and ventilation are a trade-off
A very large lens can reduce wind and debris exposure, but it also creates a larger surface around the face. Effective venting, sensible spacing and a secure fit help balance protection with airflow. This is why the “biggest lens possible” is not automatically the best lens for every rider.
Helmet straps and cycling glasses
The temple arms should sit in a stable position without creating pressure points with the helmet straps. If you are unsure whether to place the glasses inside or outside the straps, the answer depends on the helmet, the eyewear and the rider's fit rather than a universal rule.
↑ Back to topQuick Comparison
Downhill Glasses Checklist
Use this checklist before buying or before deciding which pair to take to the trail.
Avoid These Errors
Common Downhill Eyewear Mistakes
- Choosing by mirror colour alone: the visible finish is not the same thing as lens category, light transmission or suitability for shaded trails.
- Using a lens that is too dark for the forest: if the technical part of the route is in deep shade, preserve enough light to read surface detail.
- Ignoring helmet contact: a tall lens or wide frame can become uncomfortable if it hits the helmet shell or retention system.
- Testing fit only while standing still: move your head, mimic a riding position and check stability with the helmet on.
- Wiping a dusty lens dry: loose grit can scratch the surface. Rinse away particles before wiping whenever possible.
- Assuming one format is always superior: goggles and glasses solve different problems. Match the format to the ride, helmet and conditions.
Care & Maintenance
Keep Your Downhill Glasses Clear and Ready to Ride
Mud, dust and sweat are normal in MTB. Simple care protects the lens surface and keeps the frame's contact points working as intended.
- Rinse before wiping: remove loose dust, sand and mud with clean water before touching the lens with a cloth.
- Use a clean microfibre cloth: avoid abrasive fabrics, dirty gloves or paper towels.
- Let ventilation do its job: avoid blocking vents with tape, accessories or an incompatible helmet position.
- Store eyewear in a case: protect the lenses from keys, tools and other hard objects inside a pack or bike bag.
- Inspect nose pads and temple tips: clean sweat and dirt from the contact areas and check that adjustable parts remain secure.
- Protect spare lenses: if your model uses interchangeable lenses, store each lens separately to reduce scratches.
A clean lens is not only about appearance. On technical trails, mud smears and scratches can reduce the detail available when you are trying to read the next line.
↑ Back to topUseful Answers
FAQ: Downhill Glasses and MTB Goggles
Are downhill glasses different from normal cycling sunglasses?
The basic functions are similar, but downhill and technical MTB put extra emphasis on coverage, stability, helmet compatibility, debris protection and lens performance in changing light. A secure wraparound cycling frame can work very well if those requirements are met.
Should I use glasses or goggles for downhill MTB?
Glasses are usually lighter and more ventilated, making them practical for trail and enduro rides with climbing. Goggles provide more enclosed coverage and are often the better match for full-face helmets, bike parks and gravity-focused downhill riding.
What lens category is best for forest trails?
There is no single category for every forest. Very dark or overcast woodland can favour clear or low-light lenses, while brighter mixed trails can suit a moderate tint or a photochromic lens. Choose for the darkest technical sections you expect to ride, not only the sunny openings.
Are photochromic lenses good for downhill and MTB?
Yes, particularly for routes that alternate between shade and open terrain. Pay attention to the actual category range: a broad 0–3 range is especially versatile because it starts clear and can darken for brighter conditions.
Are polarised lenses good for mountain biking?
They can be useful when reflected glare is a major problem, but they are not automatically the best choice for every trail. In dense woodland, usable light transmission and contrast may matter more. Check how a polarised lens interacts with any digital display you use while riding.
Why do MTB glasses fog on climbs but clear on descents?
At low speed, warm humid air can remain around the lens because there is less airflow. Once speed increases, moving air often helps clear moisture. Fit, ventilation, weather and how close the lens sits to the face all affect the result.
Can large cycling glasses work with a full-face helmet?
Sometimes, but compatibility varies. Check the helmet eye port, temple clearance and brow contact before riding. If the helmet pushes the frame out of position, a goggle designed for that helmet style may be the better solution.
Final Advice
The Bottom Line for Downhill Riders
The best downhill glasses are not simply the darkest, largest or most aggressive-looking option. They are the eyewear that lets you see the trail clearly, stays stable with your helmet and gives the level of coverage your riding actually requires.
Start with the conditions you ride most often. If your routes move repeatedly between forest and open sun, lens adaptability becomes important. If you spend the day in a bike park with a full-face helmet, more enclosed coverage may take priority. If your rides include long climbs and technical descents, ventilation and low bulk may matter just as much as protection.
Choose the lens category first, then evaluate coverage, fit, ventilation and helmet compatibility as one system. That approach is more reliable than choosing eyewear by style alone.
↑ Back to topReward Coupon
Your 15% Reward Coupon
Explore the DEMON collection of cycling glasses for road, mountain bike, trail and off-road riding.
Use the coupon code below and receive 15% off your purchase.

Find the right cycling glasses for your next ride.
